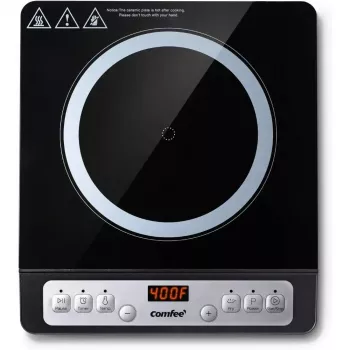
1800W Portable Induction Burner: 8 Levels + 3h Timer
Fast, Flexible Cooking in a Small Footprint
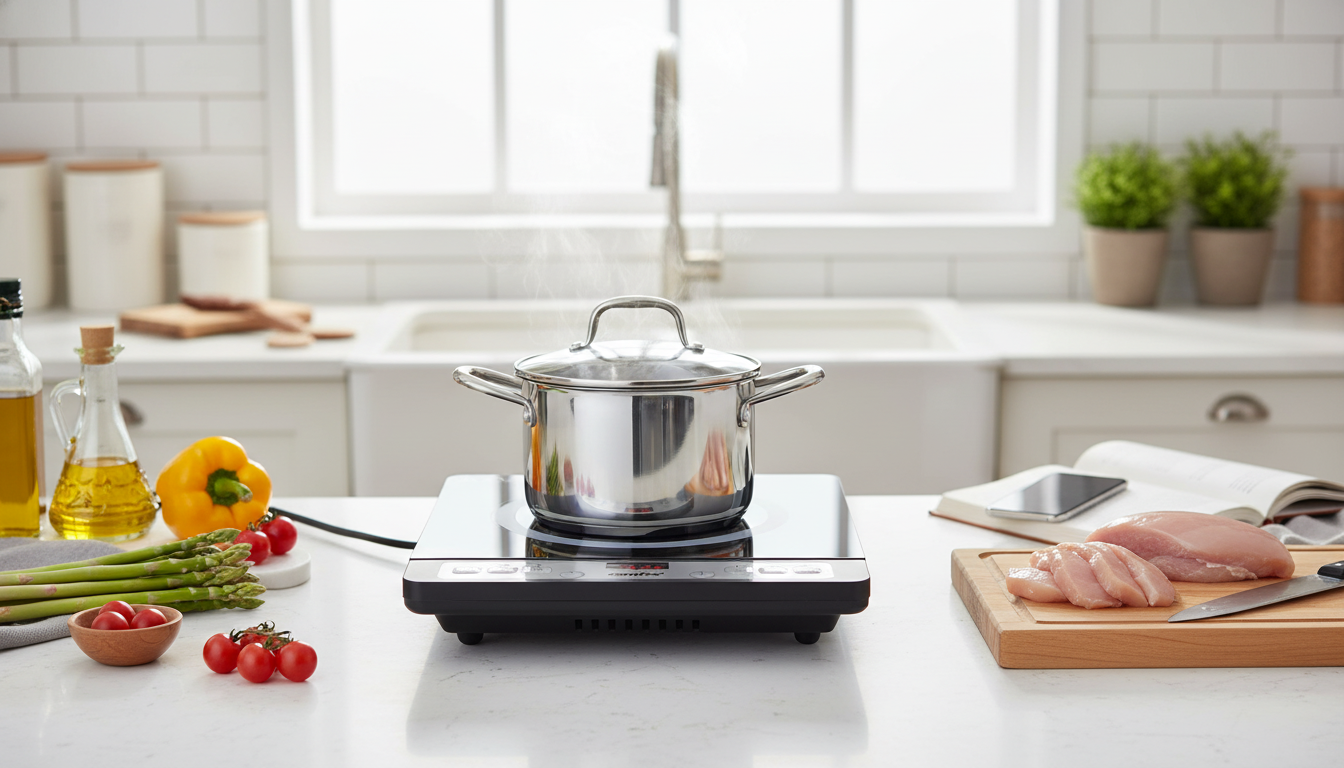
When counter space is limited—or the main stove is already packed with pots—a portable induction burner can add a dependable extra cooking zone without any installation. This 1800W portable induction cooktop is built for quick heat response, simple step-based power control, and a built-in 3-hour timer that supports everything from hands-off simmering to controlled warming during parties, office lunches, or RV travel.
Induction-style heating focuses energy into compatible cookware instead of heating a broad surface area, which can help the kitchen feel more comfortable during longer cooking sessions. For a deeper overview of how induction works, the U.S. Department of Energy offers a helpful primer here: U.S. Department of Energy — Induction Cooking.
What This Portable Induction Burner Is Designed to Do
- Provide a single, plug-in cooking zone without installing a full cooktop.
- Deliver rapid heat changes for boiling, searing, and controlled simmering.
- Reduce ambient kitchen heat compared with many countertop alternatives.
- Support timed cooking sessions up to 3 hours for convenience and consistency.
- Fit into space-limited setups: studio apartments, dorm rooms, RV counters, temporary kitchens, and buffet stations.
Key Features That Matter Day to Day
- 1800W maximum output for quick boil times and high-heat cooking when paired with compatible cookware.
- 8 power levels to better match common tasks (melting, warming, simmering, sautéing, boiling).
- 3-hour timer to help prevent overcooking during long simmers or when multitasking.
- Portable footprint for storing in a cabinet and pulling out only when needed.
- Pan-focused heating that targets the cookware rather than the surrounding surface area, helping keep the cooking zone more comfortable.
Power Levels: Practical Cooking Uses
One of the most useful advantages of step-based power is how quickly it lets you “stage” heat. Many recipes are really a sequence—boil then simmer, sear then finish gently, or reduce then hold warm. With eight levels, it’s easier to dial in repeatable results without hovering over the controls.
- Lower settings are best for delicate tasks like melting chocolate, warming sauces, or keeping soup at serving temperature.
- Mid settings suit sautéing vegetables, pan-frying, and steady simmering.
- High settings work well for bringing water to a boil, cooking pasta, or rapid preheating before reducing heat.
- Adjusting power in steps is most effective when a recipe calls for staged heat: boil → simmer, sear → finish, reduce → hold warm.
Suggested uses for 8 power levels (example guide)
| Power level range | Best for | Tips for better results |
|---|---|---|
| 1–2 | Melt, warm, hold | Stir frequently for dairy- or sugar-heavy foods to avoid scorching. |
| 3–4 | Low simmer, gentle poach | Use a lid to stabilize temperature and reduce splatter. |
| 5–6 | Sauté, shallow fry, steady simmer | Preheat pan briefly, then add oil; adjust down once food is added. |
| 7–8 | Boil, rapid heat-up, high-heat sear start | Heat quickly, then reduce to avoid boil-overs and maintain control. |
Using the 3-Hour Timer Effectively
A built-in timer is especially valuable when cooking involves long, steady heat rather than constant stirring. Think beans, broths, sauces, or a pot of soup that needs to stay hot while other dishes come together.
- Use the timer for long-simmer items (stocks, beans, sauces) where a consistent window is more useful than constant monitoring.
- Pair timing with staged power: start higher to heat, then switch to a lower level and set the timer.
- For buffet-style service, set a lower power level with a shorter timer and reset as needed to keep food within safe serving practices.
- When cooking in shared spaces (office, dorm), the timer adds a helpful backstop if attention is pulled away.
For general best practices around cooking safety—especially when multitasking—see: National Fire Protection Association — Cooking Safety.
Cookware Compatibility and Fit
Induction burners require cookware that can be heated by a magnetic field. The simplest check is the magnet test: if a magnet sticks firmly to the base of your pan, it’s typically induction-compatible.
- Induction cooking requires magnetic cookware; a simple check is whether a magnet sticks firmly to the pan’s base.
- Common compatible materials: cast iron and many stainless-steel pans (not all stainless is induction-ready).
- Common incompatible materials unless labeled induction-ready: aluminum, copper, glass, and some non-magnetic stainless.
- For stable heating, use flat-bottom pans that fully contact the cooking surface and fit within the recommended diameter range listed in the product details.
- If using lightweight cookware, keep the pan centered for the most even heating.
Safety, Comfort, and Cleanup Habits
Where This Burner Fits Best: Common Scenarios
Specifications at a Glance
In-Stock Picks
- 1800W Portable Induction Cooktop Burner with 8 Power Levels & 3-Hour Timer
- Women’s Long-Sleeve Yoga Jacket & High-Stretch Fitness Set
- Personal Finance Made Easy Ebook – Budgeting, Saving, Investing & Debt Management Guide for Financial Freedom
FAQ
What cookware works with an induction cooktop burner?
Induction requires magnetic cookware, so a quick test is whether a magnet sticks firmly to the pan’s base. Cast iron and many stainless-steel pans work well, while most aluminum, copper, and glass won’t work unless they have an induction-ready base.
Is an 1800W portable induction burner safe to use on a countertop?
It can be safe when placed on a flat, heat-resistant surface with vents kept clear and proper clearance around the unit. Follow the manufacturer’s instructions, use a suitable outlet, and unplug the burner before cleaning while keeping water out of vents.
How should the 3-hour timer be used for simmering and warming?
Bring food up to temperature at a higher setting, then lower the power to maintain a steady simmer or warm hold and set the timer for the desired window. Check liquids occasionally, use a lid when appropriate, and reset the timer if you need extended holding.


Leave a comment