1080P Night Vision Binoculars: 5X Zoom & IR Tips
1080P Night Vision Binoculars with 5X Digital Zoom & Infrared Light: Clear Viewing After Dark
Night vision binoculars with built-in infrared illumination make it easier to observe wildlife, monitor property, or navigate low-light outdoor activities without relying on bright flashlights. The right settings (and a few technique tweaks) can make recorded footage look cleaner and live viewing feel more natural, especially when the scene is truly dark. Below is a practical breakdown of what affects clarity most—resolution, digital zoom, IR strength, handling comfort, and distance—plus tips for getting sharper results in real conditions.
What These Night Vision Binoculars Are Built For
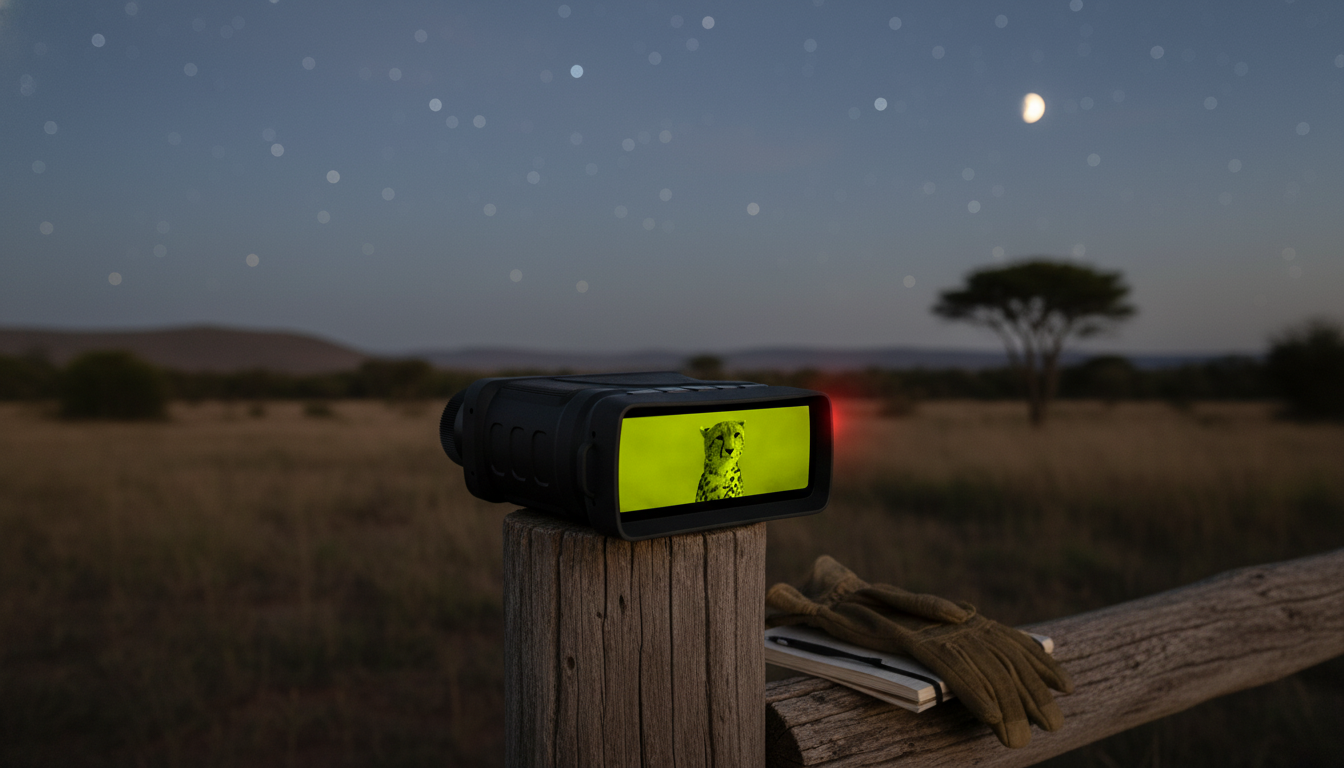
These binoculars are designed for after-dark viewing when ambient light is limited or completely absent. Instead of throwing visible light into the scene, they rely on an infrared (IR) illuminator to light up what you’re looking at without the glare of a flashlight.
- Support for low-light and no-light viewing using an infrared (IR) illuminator rather than visible light
- 1080P video capture for documenting sightings and reviewing details later
- 5X digital zoom for enlarging distant subjects when physical movement isn’t possible
- Useful for backyard wildlife watching, camping, boating docks, farm checks, and general nighttime observation
- A practical option when portability and quick setup matter more than professional-grade, long-range systems
For responsible wildlife observation, it’s worth following guidance from public land and conservation agencies, such as the National Park Service wildlife viewing resources and the U.S. Fish & Wildlife Service.
Key Features That Affect Real-World Clarity
Night vision “clarity” isn’t just about a resolution number. Your distance to the subject, how steady you hold the binoculars, and how much IR illumination you use often decide whether details look crisp or smeared.
1080P capture
1080P recording helps preserve detail in saved video, which is useful when replaying a moment to confirm what you saw. Still, perceived sharpness can drop quickly if the subject is far away, the scene is extremely dark, or the device is shaking while recording.
5X digital zoom
Digital zoom enlarges the image electronically. It’s handy for a closer look, but it can also magnify grain and noise—especially at maximum zoom or in low-contrast scenes. For best results, increase zoom in small steps and stop when the image starts to look “muddy.”
Infrared light strength
IR illumination is what makes viewing possible in complete darkness. Higher IR levels can extend visibility and improve contrast on distant objects, but they can also drain batteries faster. In environments with mist, dust, or reflective surfaces, higher IR may increase glare and reduce detail.
Display comfort and handling
A clear, comfortable screen reduces eye fatigue during longer sessions. Handling matters just as much: when you’re zoomed in, tiny movements become big shakes. Bracing your elbows, leaning on a railing, or using tripod support can improve the view more than pushing zoom higher.
Quick Specs Snapshot
Use the table to compare the most decision-relevant basics at a glance before diving into usage tips.
| Spec / Feature | What It Means in Use |
|---|---|
| 1080P recording | Better detail for saved video; helps when replaying and pausing to identify animals or objects |
| 5X digital zoom | Helps enlarge distant subjects; image can look softer at maximum zoom, especially in very dark areas |
| Infrared illuminator | Enables viewing without visible light; higher IR levels can extend visibility but increase power draw |
| Night observation format | Designed for handheld scanning, short recordings, and quick checks rather than long-duration surveillance |
| Outdoor use cases | Wildlife, camping, property checks, and low-light viewing around yards, trails, and outbuildings |
How to Get Better Results: Setup, Distance, and IR Levels
A few small adjustments can noticeably improve both live viewing and recorded footage.
- Start at the lowest IR level that provides a clear image; increase only when the scene is too dark.
- Avoid max digital zoom until the target is centered—zooming while searching can make tracking harder.
- Brace elbows against the body, or rest on a railing to reduce shake (especially when zoomed in).
- If the subject is far away, move closer when possible; digital zoom cannot replace a shorter distance.
- For recording, hold steady for a few seconds before and after key moments to reduce motion blur in playback.
If you often observe near a home, dock, or campsite, reducing unnecessary light can make night scenes feel more natural. NOAA’s overview of light pollution and the night sky offers helpful context on why dark adaptation matters.
Where These Binoculars Fit Best (and Where They Don’t)
These binoculars are most satisfying when expectations match the tool’s purpose: portable, quick, and capable for everyday nighttime viewing.
Care, Storage, and Battery Habits That Extend Lifespan
Recommended Products
- 1080P Night Vision Binoculars with 5X Digital Zoom & Infrared Light — a balanced option for nighttime viewing, with digital zoom for closer looks and IR illumination for dark scenes.
- Women’s Long-Sleeve Yoga Jacket & High-Stretch Fitness Set — a comfortable layering option for chilly nighttime walks, campground mornings, and cool-weather outdoor routines.
FAQ
Does infrared night vision work in complete darkness?
Yes. Infrared night vision can work in complete darkness because the built-in IR illuminator provides invisible light for the device to “see.” Results still depend on IR strength, how far the subject is, and conditions like fog, rain, or highly reflective surfaces.
Is 5X digital zoom the same as optical zoom?
No. Digital zoom enlarges the image electronically, which can reduce sharpness as you zoom in. Optical zoom changes magnification through lenses and typically preserves more detail at higher magnifications.
How can video look clearer when recording at night?
Hold the binoculars as steady as possible, use the lowest IR level that still looks clear, and avoid staying at maximum digital zoom unless necessary. Keeping subjects within a practical distance and panning slowly also reduces blur and smear in playback.


Leave a comment